Build your own climbing hangboard
Article updated on .

Building a DIY hangboard: the example of Samuel Mamais
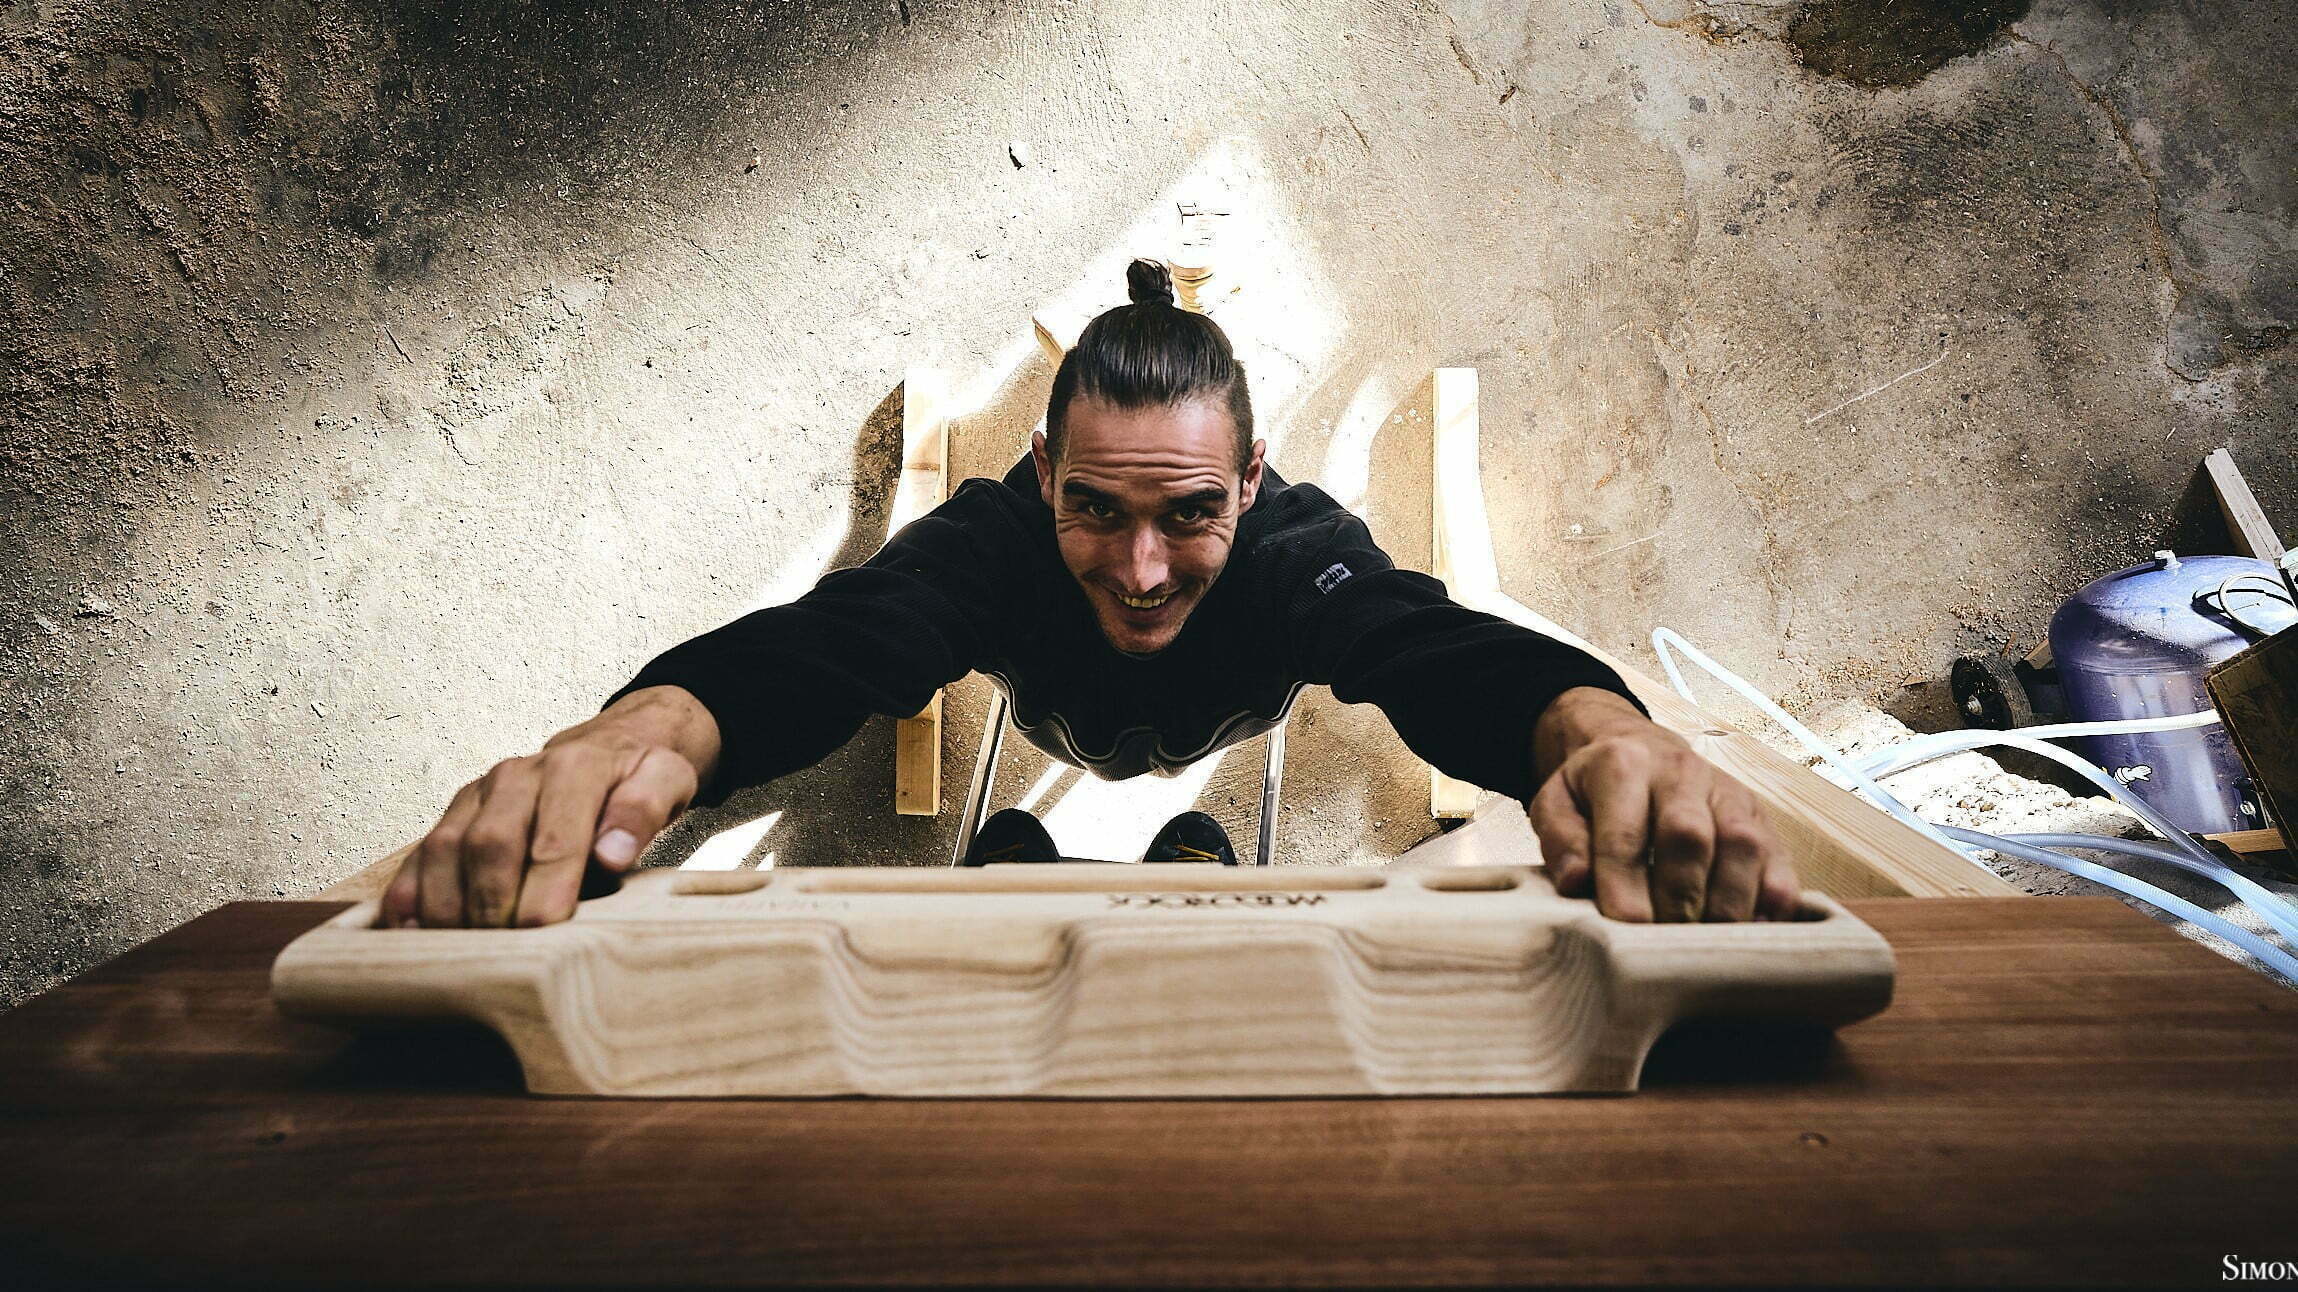
A few years ago, climbing training boards were still seen as a niche tool, reserved for seasoned climbers who shared them within small circles. It was around that time that Samuel Mamais published the video above, in which he reveals the process of building his own hangboard. Presented in a cinematic style, this process takes us into the world of DIY applied to climbing.
If you haven’t come across Samuel yet, he shares woodworking tutorials and projects on his YouTube channel, including projects like this one, which he carries out with great precision and passion.
While we work on our own video about the artisanal manufacturing process at Woodrock, we decided to break down the key steps in Samuel’s hangboard build, with our own commentary. So if the mood takes you, you too can build your own hangboard at home!
1. Design and planning
The design phase is often overlooked because of our eagerness to get stuck into the shavings!
Yet it is crucial for the smooth running of any project. In the video, although not given much screen time, this step is no less important. Samuel certainly studied his needs or drew inspiration from existing models available for purchase before sketching his own plan. It is from this plan that he will machine his piece of wood to obtain the hangboard he wants.
At Woodrock, we followed a similar process, but with several years of experimentation and testing carried out with a community of passionate climbers based in the Vercors. This feedback shaped the design of the range of hangboards you can find today on the online shop.
2. Wood selection, jointing and planing
At the time, on the island of La Réunion, Samuel opted for a hard exotic wood known for its strength. However, if you are in France or Europe, we recommend choosing local species such as oak, ash or beech, which are ideal for this type of project.
Absolutely avoid softwoods like fir, pine or spruce. These are less resistant and will not provide the durability and strength needed for an effective hangboard.
In his video, Samuel shows creativity by preparing his piece of wood in an elaborate way, using a glue-up. This choice adds complexity to the project, as well as half a day of drying time to ensure maximum strength. If this is your first project with raw timber, we recommend getting in touch with a joiner near you. Many will be happy to cut and prepare the wood to your dimensions, saving you precious time and avoiding a very time-consuming hand planing session.
3. Creating a template
Once the wood is prepared, Samuel moves on to creating a template. For this, he uses a melamine panel or similar material, which he cuts out using a drill fitted with a large bit. This template will serve as a guide for machining the holds, ensuring precision and uniformity throughout the project.
The template is an essential step, as it makes it easy to transfer the measurements from the plan to the piece of wood, ensuring consistency in the design and structure of the hangboard.
4. Routing
Next comes the machining of the holds. Samuel uses a router to carve out the recesses for the holds. In his video, he opts for straight, regular holds on the board, simplifying the build. Although he could have added more complex shapes, such as angled surfaces, Samuel prefers to avoid extra complications and focus on the strength and effectiveness of the final product.
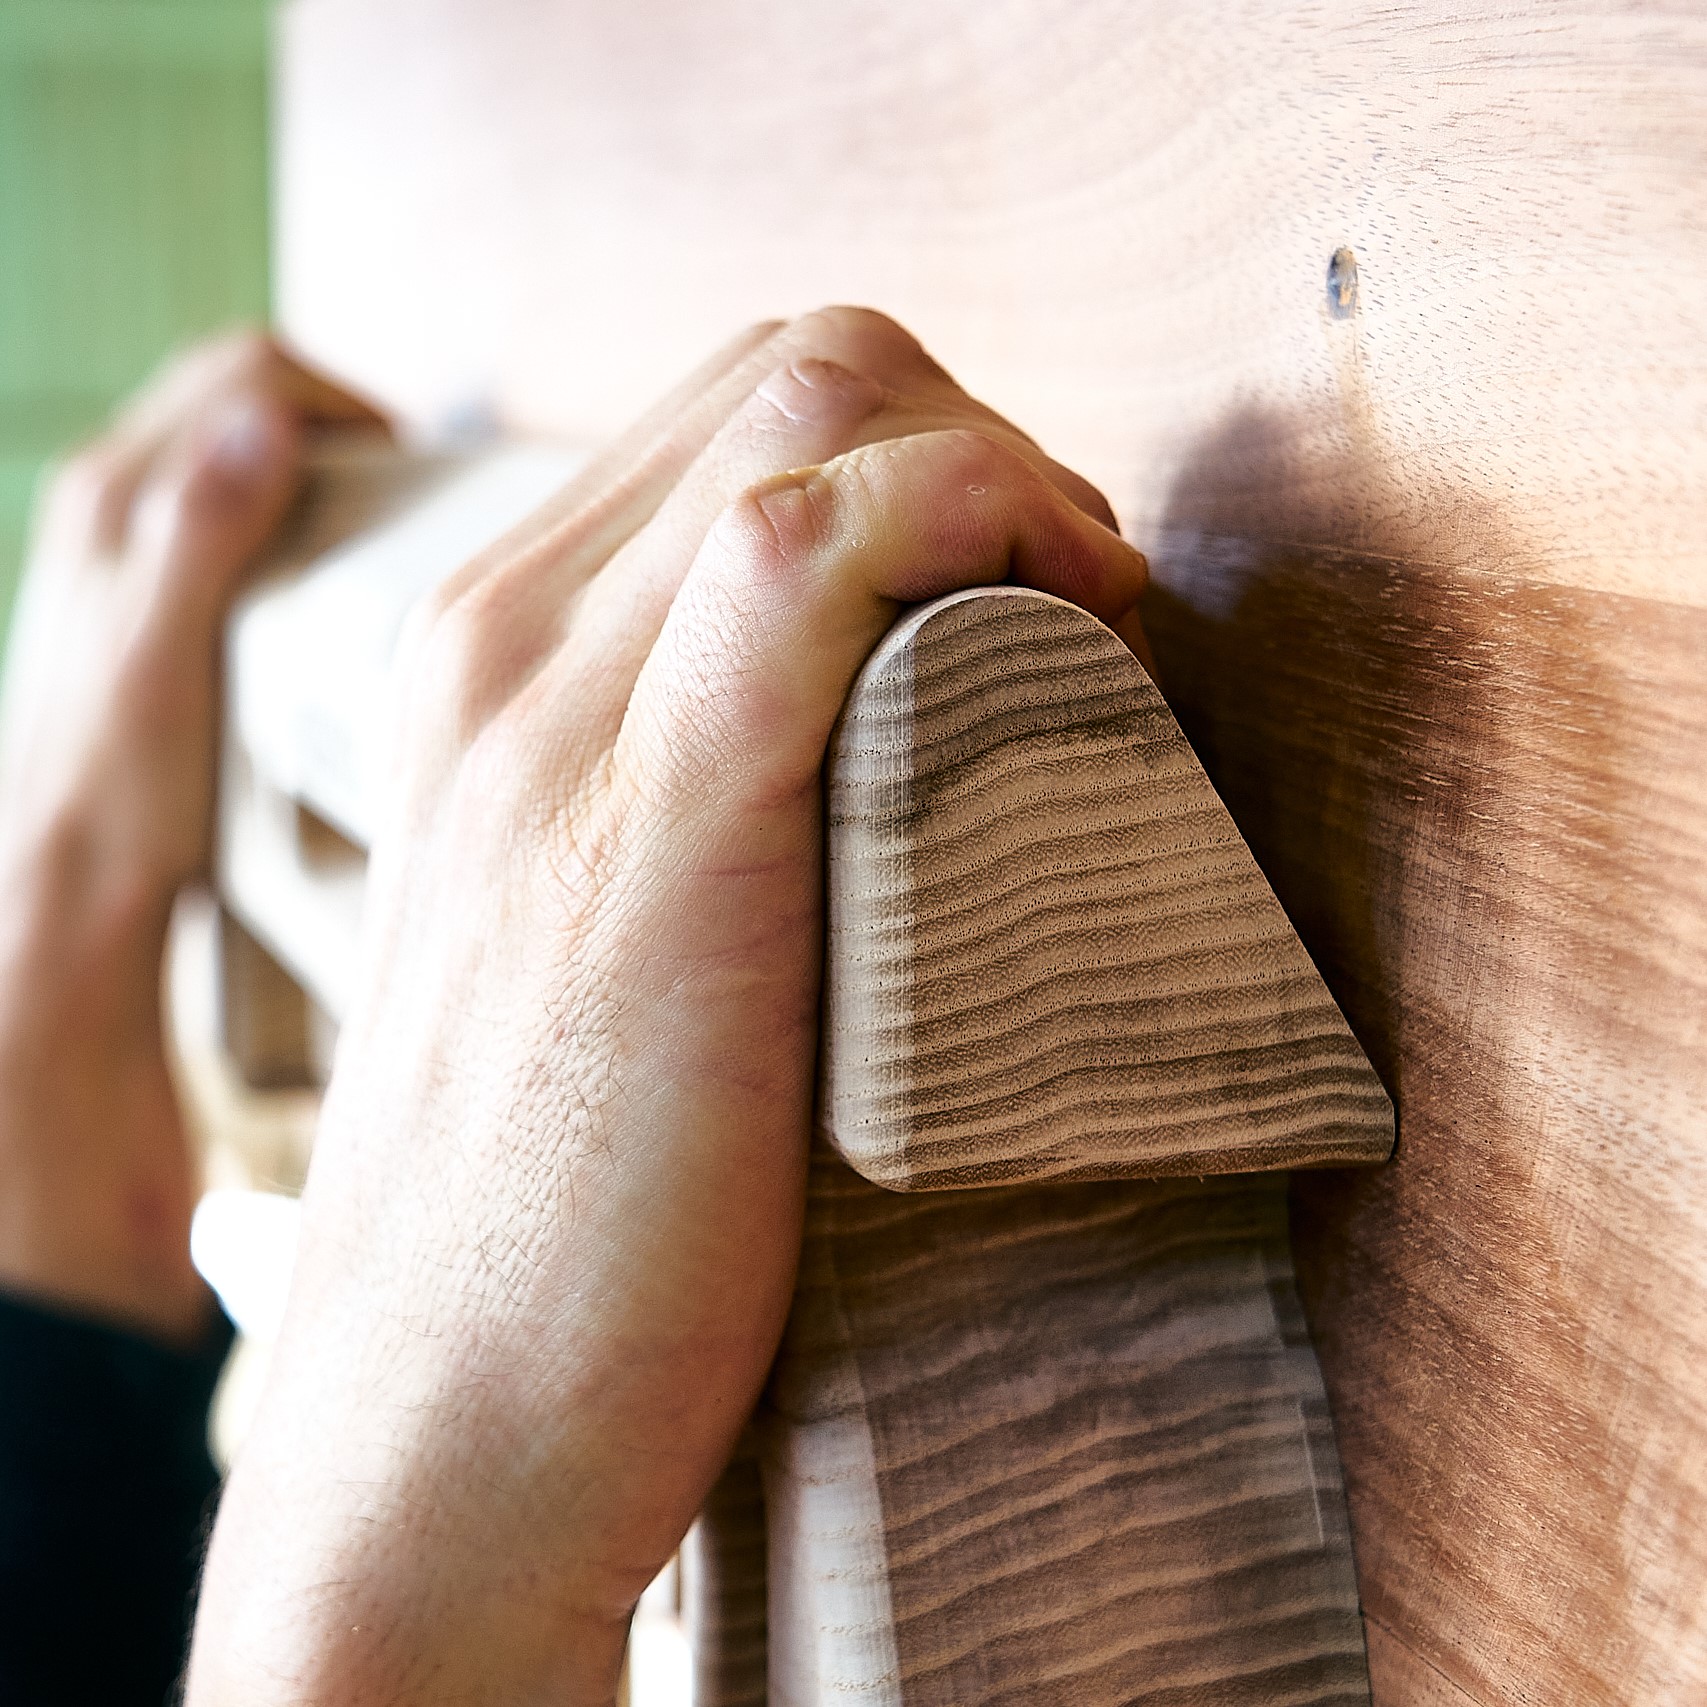
Straight holds allow a more stable and consistent grip, ideal for home training, especially for beginner climbers or those looking for a more pragmatic approach that avoids the complexities of a board with varying angles.
On our side, to meet the needs of both experienced and beginner climbers, we have studied in depth how to create sloping or incut holds. If you want to know our manufacturing secret, stay tuned for our video in the coming months.
5. Finishing with a router or angle grinder
The final step involves rounding off all sharp edges to improve the ergonomics of the board and prevent injuries. Ideally, use a router fitted with a roundover bit, which produces clean and even edges. If you don’t have this tool, you can sand and grind the edges using an angle grinder fitted with a sanding disc. This finishing ensures a smooth and pleasant surface, making training more comfortable.
6. Installation and first training session
The final step is installing the hangboard. Samuel chooses to mount it above a door, on an exterior door frame, on a lintel strong enough to support his weight and the forces generated during training. It is essential to ensure that the chosen support is sturdy and suitable for the load to avoid any accidents.
See our detailed article: How to mount your hangboard.
Once the board is installed, Samuel can begin his first training session. And this is where all the work finally pays off. The effort put into creating this DIY tool translates into increasingly effective training sessions, helping to improve strength and technique in climbing.
So that the board you’ve made lasts 10 years rather than 2, read up on good maintenance practices for a wooden hangboard: regular brushing, light sanding with 100 to 120 grit, no greasy products. And to get the most out of your new equipment, the finger strength guide details the 4 methods (max hangs, repeaters, no-hangs, density) that structure all progression on a hangboard.
Share your creation
The community platform l’AirDuBois is a great place to share and discover other creations.
We liked this one by:
- Paul Cartier
If you’d like your build to be listed, don’t hesitate to contact Jo.
After training, keep reading
On the WoodRock climbing blog.